09.12.10
Radian FPV Plane
FPV is short for “First Person View”. It means your viewpoint is the same as whatever it is you are looking from. For a human that means our eyes. So a FPV video game would be one where your viewpoint is your characters eyes rather than flowing behind their head or looking down at them. For airplanes it means looking from the cockpit of the plane, rather than behind it or staring up at it from the ground. It is possible to fly remote control airplanes FPV by using a small camera and a video transmitter placed on the plane, with a receiver and monitor to view the view on the ground. I flew my first FPV flight about 2 years ago, but I am just finally getting around to taking pictures of my second FPV plane.
The rest of this post was written for RCGroups, and is slightly more technical.
The plane is a Parkzone Radian. You can order them from Horizon Hobby for $160 (or $250 with everything you need to fly, including a decent transmitter and receiver). They are one of the best foam gliders on the market right now. You can read all about the plane itself here:
http://www.horizonhobby.com/Products/Default.aspx?ProdID=PKZ4775
It comes with a motor, servos, esc and all the basic parts you need for a plane even in the PNP version, and I didn’t replace any of these. Here is a list of all the gear I added:
RX- Thomas Scherrer Long Range System (Control Receiver and Transmitter, I have v1, the first one made)
vTX – 1 Watt 900Mhz NTSC Video Transmitter (They stopped carrying the exact one I bought)
vTX Antenna – 2dBi 900MHz Compact Dipole
Camera – KX171 (Not the best camera, but it was $150 when I bought it. I have the NTSC version)
Pan Servo – Hobby Wireless 180º MG
On Screen Display – Range Video RVOSD (I have a v2, which has almost all of the features of the most recent v4 due to updateable firmware)
IR Sensors – FMA Co-Pilot XY and Z sensor (they don’t sell them by themselves anymore, or the Z at all)
Video Battery – 610mAh Rhino 3S 11.1v (About 1 hour of runtime)
Main Battery – 2100mAh E-flight 20C 3S 11.1v (About 1 hour of flight time if I don’t find any thermals)
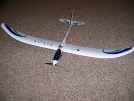
I also added a lot of servo wire, strapping tape (it works wonders!), glue and hard work 🙂 I’ll save my ground station for another post. Here are some pictures of it all put together:
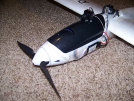
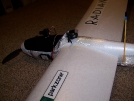
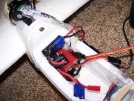
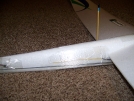
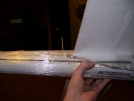
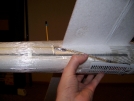
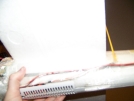
I moved the ESC out of the cockpit and mounted it on the side of the plane, but I didn’t rewire it at all. It is better cooled and not taking up space. I plan to add a CC BEC to the other side, but I haven’t yet. Ever notice how strapping tape can make any picture look ugly? I have the Z IR sensor right in front of the wing, and the XY on top of the wing with a 45º angle for best sky-view. The gps is mounted on top of the XY sensor and both are secured with a zip-lock-thing. It tore into the wing holder just a little when I tightened it, and is ugly, so I will probably use tape or a flat string eventually.
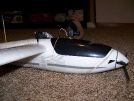
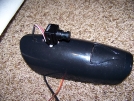
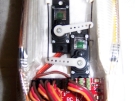
I drilled a few holes in a stock radian canopy and placed the 180 servo directly beneath it. Two screws keep it from wobbling around. I had to put CA on one of the screws to keep it from constantly yanking out after a minor crash. A larger hole in the back lets the camera wire go down into the cockpit. The camera sits directly on top of the servo, but the view is still great. Only a small amount of plane shows in the video. I’ll add tilt someday. The magnets alone are plenty to hold the canopy on for normal flight, but I like doing loops (and being safe) so I added two rubber bands.
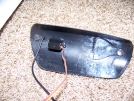
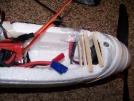
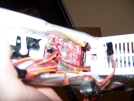
Inside the canopy I scooped out a TON of foam. There is a lot of space in the canopy, but unmodified most of it is taken up by foam that holds the ESC or battery in place. Take it out and you don’t lose much of anything structurally, but can fit a ton more. I place the video battery inbetween the rvosd and and wood, and then sit the main flight battery on top of the rvosd. It fits snugly between the current monitor and the wood. The wood has kept me from feeding the hungry motor so far. The motor wires feed out through a small cut on the front side of the plane, and the ESC and IR sensor wires feed in on rear side cut. You can see the RVOSD shoved back in where the battery would normally be, and the current sensor on top of it. Underneath the RVOSD I have the insanely long IR sensor cables bundled up. I couldn’t find anywhere to get a 6 in cable.. I’ll make one eventually. The pan servo and video wires just sit on top of everything when the entire set is together.
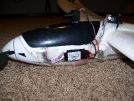
The TLRS antennas are mounted to the side of the plane, one vertically and one taped on horizontally for best coverage. They feed back down into the bottom hatch where the TLRS rx is. The other cable is for video, and goes from the RVOSD out to the tail where the vtx is. The magnet on the lower hatch is still plenty to keep it attached still, since the wind blows against it.
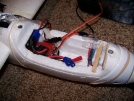
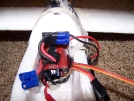
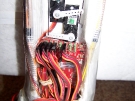
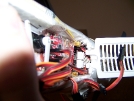
Inside the hatch is a bit of a mess… but almost as clean as it possibly could be. 4 wires go from the rx to the RVOSD (aux, throttle, rudder and elev). The two servos cross over the rx and connect to the rvosd as well. The final cable from the rx goes under the rvosd, and out directly to the pan servo. The current sensor and video in loop back around under the RVOSD and out to the cockpit. The video out goes out beside the (shielded!) rx antenna cable, and then runs down the side of the plane to the tail. Both of the servo cables were not quite long enough to reach the rvosd, so I put extenders on them; one 3 in and one 12 in. The 12 in is the rubber banded wire that makes everything look messy.
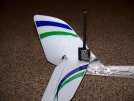
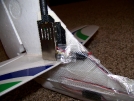
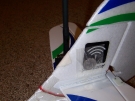
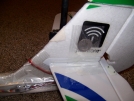
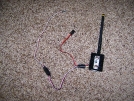
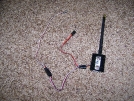
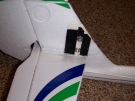
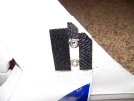
Finally is the tail where the vtx and mic are. Right now the mic is just taped to the side near the tail, but I might run it all the way back to the cockpit once I can figure out why is buzzes so much. The vtx is connected via velcro and snaps. The snaps hold it on REALLY well, and the velcro keeps it from wobbling at all. I also put strapping tape on all of the wires. Easy to get the whole setup on and off. I was going to replace the EZ-connectors with Z-bends, but the ez-connectors just break, they don’t unscrew. I broke one and had to move the inner z-bend back so I could fit the one by the tail. So I left the other. If I can’t force it off, it isn’t going anywhere.
The balance with this setup is perfectly 2.5in back, exactly the recommended place. I ended up not liking it there though, so I pasted a quarter on the tail to move it back a bit. It helps keep the plane from pitching up like mad when using the throttle.
This is my second FPV plane, my first being an EZ*. I never was happy with that setup though. I’ve been flying this one for about a year now, although I keep changing little things.
